当按照上一篇jekyll入门教程步骤操作后,你就拥有了一个属于自己的免费Blog。但是界面非常的朴素甚至有时无法满足最基本的写作需求。因此本文将会简单的介绍jekyll模板的挑选和配置过程
模板挑选
jekyll的模板一般会有以下几个集中挑选的地方:
- jekyllthemes.org
- jekythemes.net
- mademistakes (本博客就是从这位大神的多个jekyll模板中挑选的)
对于模板的挑选原则,博主觉得有以下几个参考点:
- github支持的jekyll插件有限,模板是否需要额外插件支持
- 是否支持disqus(Blog的评论区是一个基础功能)
- 是否支持Google AdSense(写Blog的同时能给自己带来一些额外收入当然也是不错的!2333)
- 配置是否简单(大部分配置是否能在YAML部分完成)
- bug修复和新功能开发的速度是否稳定
按照以上几个原则进行考评后,博主选择了Skinny-Bones。下文也将围绕如何安装配置Skinny-Bones展开。
模板安装
安装过程比较简单,通过git clone将模板代码下载到本地目录中。运行bundle install进行依赖包安装(原理类似于python的virtualenv)。然后用bundle exec jekyll serve就可以查看模板效果了。以下是安装的过程和输出
michelles-mbp:Blog michellezhou$ sudo gem install bundler
Fetching: bundler-1.7.11.gem (100%)
Successfully installed bundler-1.7.11
Parsing documentation for bundler-1.7.11
Installing ri documentation for bundler-1.7.11
1 gem installed
michelles-mbp:skinny-bones-jekyll-master michellezhou$ bundle install
Fetching gem metadata from https://rubygems.org/........
Using blankslate 2.1.2.4
Installing sass 3.4.7
Installing thor 0.19.1
Installing bourbon 4.0.2
Using hitimes 1.2.2
Using timers 4.0.1
Using celluloid 0.16.0
Using fast-stemmer 1.0.2
Installing classifier-reborn 2.0.2
Using coffee-script-source 1.8.0
Using execjs 2.2.2
Using coffee-script 2.3.0
Using colorator 0.1
Using ffi 1.9.6
Using jekyll-coffeescript 1.0.1
Using jekyll-gist 1.1.0
Using jekyll-paginate 1.1.0
Installing jekyll-sass-converter 1.2.1
Using rb-fsevent 0.9.4
Using rb-inotify 0.9.5
Installing listen 2.7.11
Installing jekyll-watch 1.1.2
Using kramdown 1.5.0
Using liquid 2.6.1
Installing mercenary 0.3.4
Using posix-spawn 0.3.9
Using yajl-ruby 1.1.0
Using pygments.rb 0.6.0
Installing redcarpet 3.2.0
Using safe_yaml 1.0.4
Using parslet 1.5.0
Using toml 0.1.2
Installing jekyll 2.4.0
Installing jekyll-sitemap 0.6.1
Installing neat 1.7.0
Installing octopress-hooks 2.2.1
Installing octopress-escape-code 1.0.2
Installing octopress-docs 0.0.9
Installing octopress-deploy 1.0.0
Installing titlecase 0.1.1
Installing octopress 3.0.0.rc.15
Using bundler 1.7.11
Your bundle is complete!
Use `bundle show [gemname]` to see where a bundled gem is installed.这里需要特别指出的是,如果简单的通过jekyll serve命令启动jekyll的话会有如下的报错。如前文所说模板是通过bundle安装独立的依赖包环境的,因此一定需要通过bundle exec jekyll serve才能够使用到本目录下的依赖环境正常运行
michelles-mbp:skinny-bones-jekyll-master michellezhou$ jekyll server
WARN: Unresolved specs during Gem::Specification.reset:
      redcarpet (~> 3.1)
      jekyll-watch (~> 1.1)
      classifier-reborn (~> 2.0)
WARN: Clearing out unresolved specs.
Please report a bug if this causes problems.
/Library/Ruby/Gems/2.0.0/gems/jekyll-2.5.3/bin/jekyll:21:in block in <top (required)>': cannot load such file -- jekyll/version (LoadError)
	from /Library/Ruby/Gems/2.0.0/gems/mercenary-0.3.5/lib/mercenary.rb:18:in program'
	from /Library/Ruby/Gems/2.0.0/gems/jekyll-2.5.3/bin/jekyll:20:in <top (required)>'
	from /usr/bin/jekyll:23:in load'
	from /usr/bin/jekyll:23:in <main>'
michelles-mbp:skinny-bones-jekyll-master michellezhou$ bundle exec jekyll server
Configuration file: /Users/michellezhou/Blog/skinny-bones-jekyll-master/_config.yml
            Source: /Users/michellezhou/Blog/skinny-bones-jekyll-master
       Destination: /Users/michellezhou/Blog/skinny-bones-jekyll-master/_site
      Generating...
                    done.
 Auto-regeneration: enabled for '/Users/michellezhou/Blog/skinny-bones-jekyll-master'
Configuration file: /Users/michellezhou/Blog/skinny-bones-jekyll-master/_config.yml
    Server address: http://0.0.0.0:4000/
  Server running... press ctrl-c to stop.
模板基本配置
然后就是模板的配置,配置过程相对简单。比较费时的地方就是为自己的博客挑选头像和文章简介图片(teaser)。博主这里头像用PhotoEditor将照片调整到模板推荐的120x120大小,文章简介直接在google上搜400x250然后将图片放置到根目录下的/images/并进行配置即可。这里需要指出的是,如果不是Github Project Page,那么这里的url配置需要留空。如果将url配置成自己Blog在github的地址会给本地调试带来困难。例如还未上传到github上的image将在本地调试的时候无法访问。以下是本博客的配置文件:
title: "cenalulu's Tech Blog"
description: "Collection of everythings I want to record down especially for tech"
logo: logo.jpg # 120x120 px default image used for Twitter summary card
teaser: teaser.jpg# 400x250 px default teaser image used in image archive grid
locale:
url:
sass:
sass_dir: _sass
style: compressed
permalink: /:categories/:title/
markdown: kramdown
highlighter: pygments
gems:
- jekyll-sitemap
owner:
name: cenalulu(卢钧轶)
email: cenalulu@gmail.com
twitter: cenalulu
google:
ad-client:
ad-slot:
bio:
avatar: bio-photo.jpg # 160x160 px image for author byline
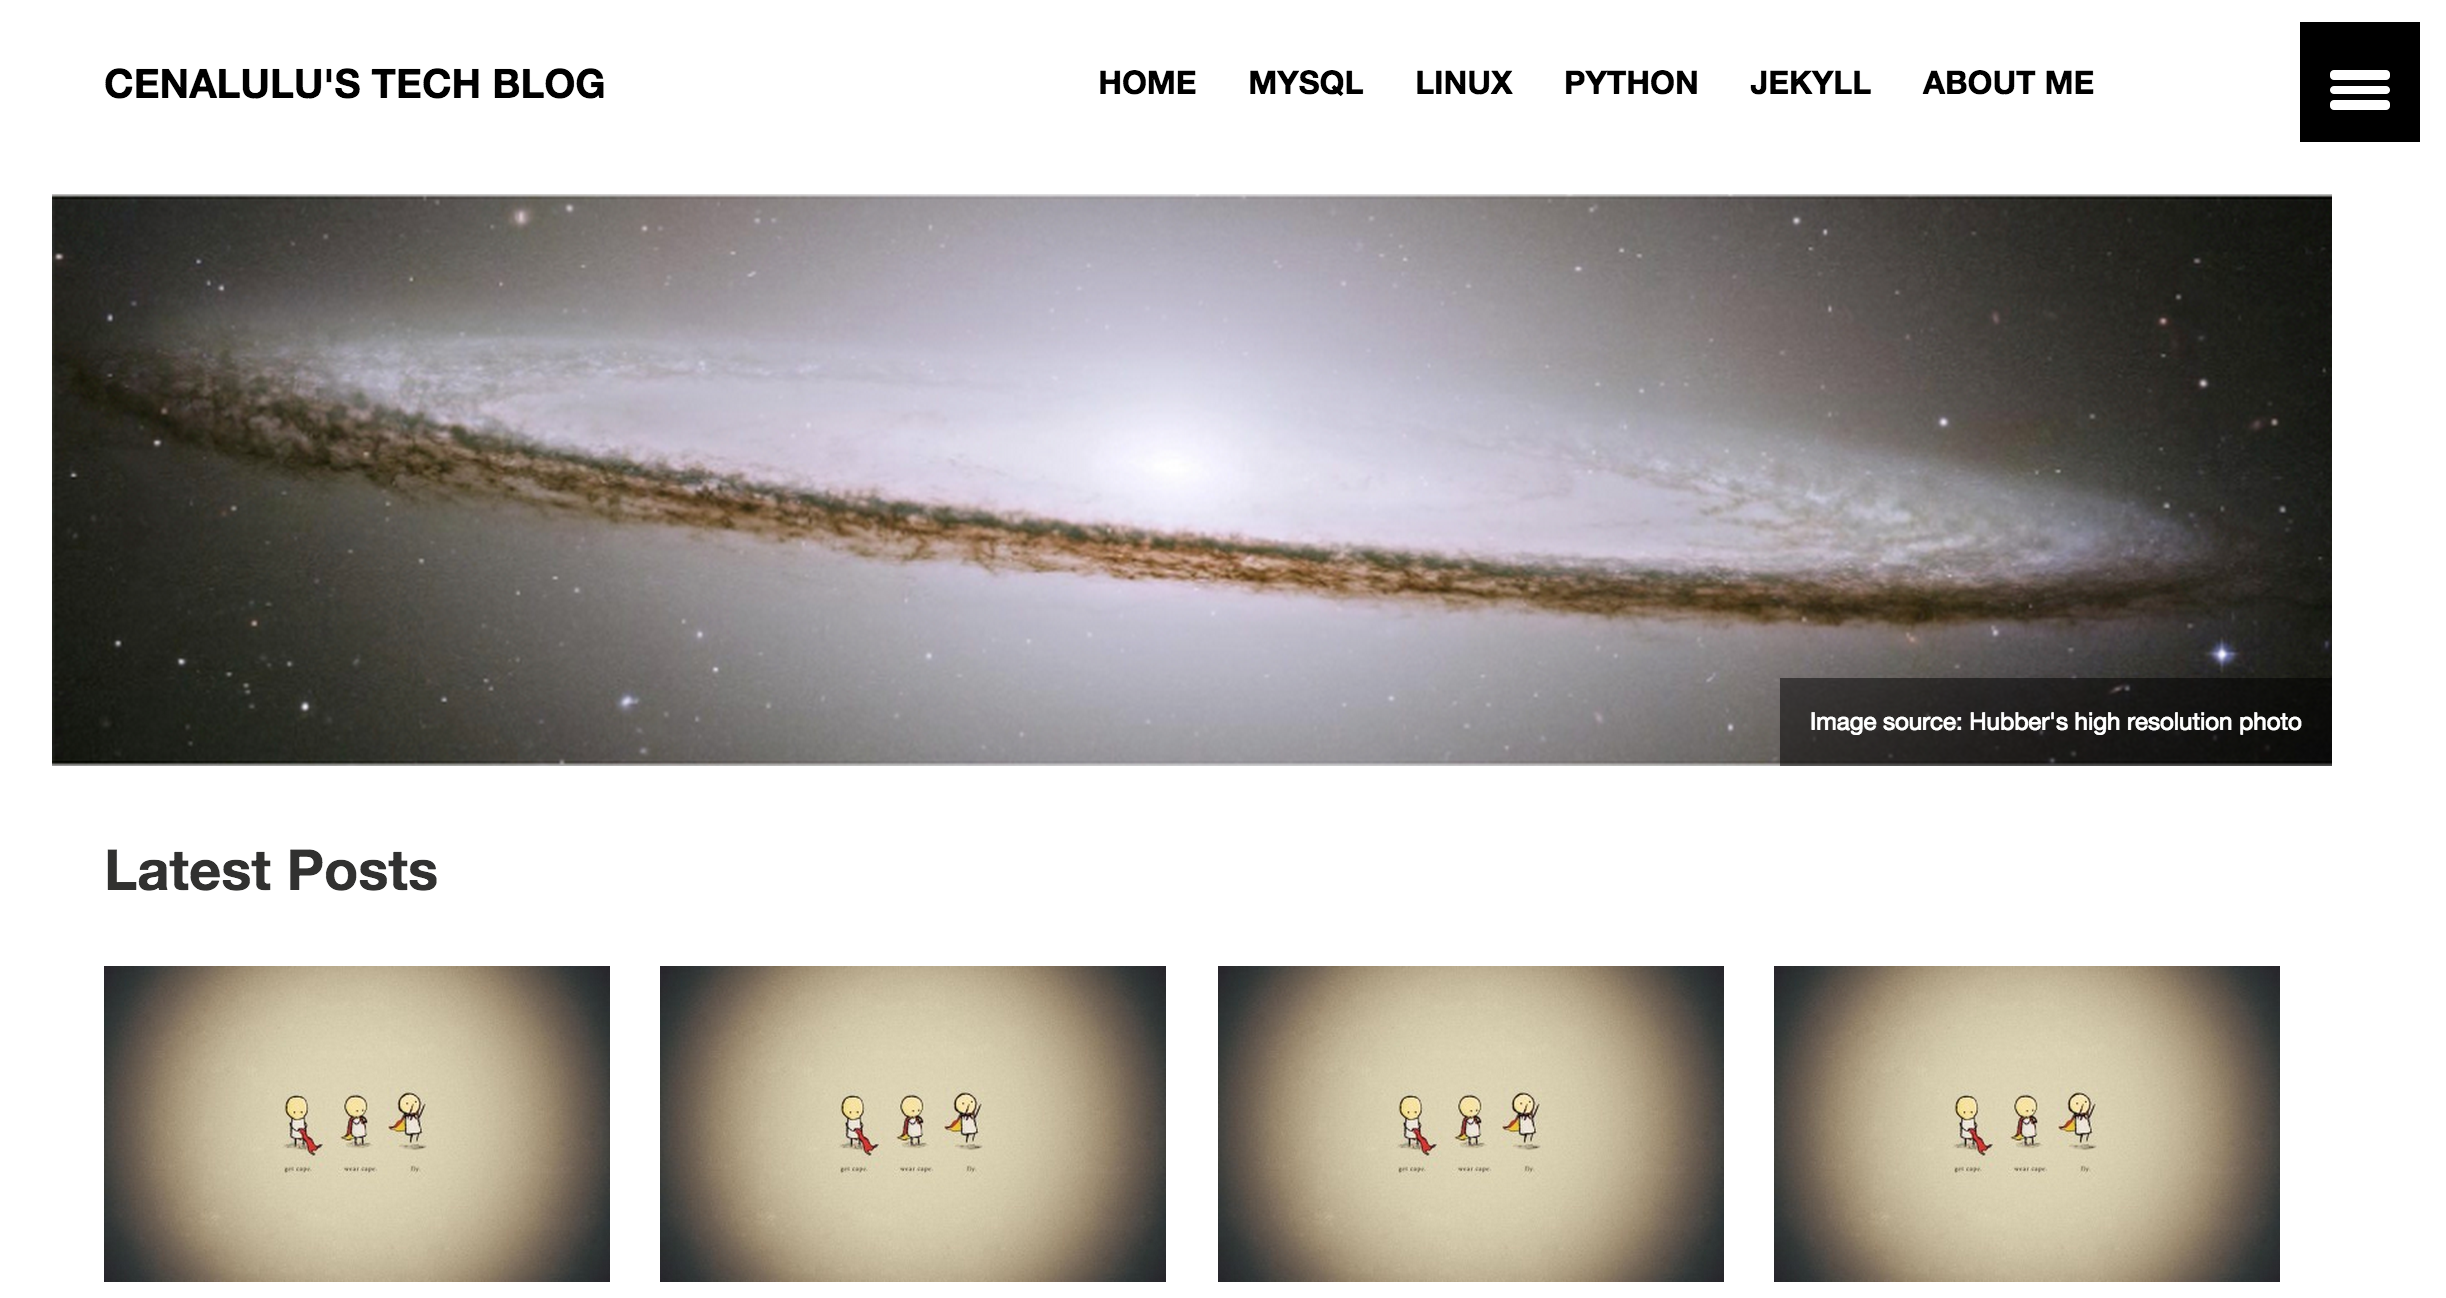
disqus-shortname: cenalulu下图是基本配置后的博客效果
模板页头导航配置
只进行基本配置博客会显得比较单调。这部分介绍下页头导航栏的配置。具体配置在_data/navigation.yml中进行。拿本博客的页头导航举例,具体语法如下:
- title: Home
  url: /
  excerpt:
  image:

- title: MySQL
  url: /mysql/

- title: Linux
  url: /linux/

- title: Python
  url: /python/

- title: Jekyll
url: /jekyll/当然光进行这样的配置,仅仅是做到了显示页头导航的作用。如果要使得点击每个页头标签能够跳转到对应分类的博文列表的话,还需要在根目录下建立和category名对应的文件夹,并在文件夹中放置一个index.md的文件用作于分类导航页的渲染。还是拿本博客举例,可以看到页头上方有:mysql, python, linux, jekyll 四个分类。那么我们就需要在blog的根目录下手工创建四个文件夹mysql,python,linux,jekyll,并且在这四个文件夹中都创建一个index.md。这个文件的内容决定了每个分类的首页如何展示。当然最简单快速的方法是把根目录下的index.mdcopy过来稍作修改。同时把permalink配置删掉,再把 site.posts 改成site.categories.mysql这里mysql替换为对应分类的名字即可。修改后的结果如下图:
其他配置
本文只是介绍的最基础的模板和安装配置过程。mmistake大神出品的模板界面风格迥异,但是配置却基本相同。详细可以参见他的配置文档。 而其他jekyll模板本文虽然没有涉及介绍,他们的基本安装和配置思路是基本一致的,即:下载解压,覆盖原Blog目录,基本配置,上传到github。 由于skinny bones支持的功能非常多,博客后续也还会针对各个常用功能做详细介绍。其他常用功能例如:
- disqus支持
- google adsense支持
- social share link支持等
当然读者也可以自己探索模板的具体配置方式,mmistake也提供了官方配置文档,同时也提供了在线样例。如果读者觉得在线样例中的example page非常漂亮想要搬到自己Blog中来的话,也可以通过github的gh-page branch来查看的具体markdown源文件的写法。